How to control your flash
In the first part of this mini-series on flash we explored the essential terms and technologies that it pays to familiarise yourself, but once you’re au fait with those ‘fundamentals of flash’ the real fun can start – putting theory into practice.
Post author: Chris Gatcum
FREE ONLINE BEGINNER’S PHOTOGRAPHY COURSE
A Year With My Camera is free by email and will get you off auto mode in less than 6 weeks. Join here and get started today:
Flash control
There are two main ways of controlling a flash: either you let your camera call the shots or you take control for yourself.
TTL (“through the lens”)
TTL is short for ‘Through The Lens’ and in the context of flash it refers to a sophisticated exposure system that can make using flash a ‘point-and-shoot’ experience. Although there are differences from manufacturer to manufacturer (Canon’s ETTL flash system is subtly different to Nikon’s i-TTL system, for example) the underlying principle is broadly similar: a weak pre-flash is fired and the camera measures the light reflected back from your subject, typically taking the focus distance, focal length and other information into account. This is used by the camera to set the main exposure and flash power, and a picture is taken. The remarkable thing about all of this is that the pre-flash, the subsequent exposure calculations and the main flash all happen within a fraction of a second of you pressing the shutter-release button, so all you see is the main flash.
TTL flash can be useful when your main aim is to ‘get the shot’ – with the camera taking charge you don’t need to worry too much about the technical side of things.
The main benefit of TTL flash is its simplicity. Because the camera ‘talks’ to the flash and controls the exposure, there are no complicated calculations for you to make, and – more often than not – the result is a well-exposed photograph. However, just like using your camera in Auto mode, when you hand over full control there’s always a chance you won’t get the result you’re after. This is especially true if you’re photographing a predominantly light or dark subject. As with regular exposures, when you use flash your camera will try and make everything average out to a mid-tone. A lot of the time this isn’t a problem, but if you’re photographing an overly light subject it will most likely come out looking darker than it should, while dark subjects may appear too bright. There is a simple solution, though: flash exposure compensation. Dialling in positive flash exposure compensation will increase the output of the flash, making your subject brighter, while negative flash exposure compensation darkens things down; check your camera manual to find out how to do this with your particular model.
Manual
If you’re using studio strobes there’s a good chance that you won’t have the option to use TTL control, and will have to set the flash power manually (manual is also an option if you’re using a hotshoe-mounted flash). Typically, you will be able to set the flash from full power (1/1) down to 1/64 or 1/128 power, which will let you change the aperture and/or ISO setting you use for your exposure – the lower the power, the wider the aperture and/or higher the ISO you’ll need to use (it’s worth noting that the shutter speed you use will have little effect on a flash exposure, but it will change the way that any background ambient light is recorded). Reducing the power will also reduce the recycling time of your flash, which will let you to take more shots in rapid succession. It will also give you a shorter flash duration, which can be useful for freezing high-speed movement.
Just like setting your camera to its Manual exposure mode, when you use manual flash you are in full control of your exposure settings, so you need some way of determining which aperture, ISO and (to a lesser extent) shutter speed to use. The simplest solution is to use a hand-held lightmeter that can take flash readings as well as regular ambient light readings: just fire your flash and the meter will suggest a suitable exposure.
Manual flash is often the only option if you’re using studio strobes, but you can also work manually with a hotshoe flash (or multiple flashes) when you want to control the flash precisely.
Alternatively, you can use the flash’s guide number (GN) and some straightforward calculations to work out your camera settings. There are two formulas that are helpful here, depending on whether you want to work out what aperture you need to use for your exposure, or you want to determine the flash-to-subject distance for a given aperture setting. These are:
aperture = guide number / distance
distance = guide number / aperture
In each case, set the ISO to the ISO given for your flash’s guide number (usually ISO 100) and the shutter speed to your camera’s sync speed (typically around 1/200 sec.) or slower. Then, either divide the guide number by the flash-to-subject distance to determine the aperture setting you need to use, or divide the GN by the aperture you want to use to find out how far the flash needs to be from your subject – it’s that simple.
However, while this is useful to know, it is so easy to take test shots and use your camera’s histogram to guide you that there’s very little practical reason why you would want or need to work out your flash exposures based on the guide number. Even if you do, there are plenty of apps out there that will do the calculations for you.
Auto flash
Before TTL there was Auto flash, which was commonly found on flash units used with mechanical film cameras. Unlike TTL flash, which is controlled by the camera, Auto flash is controlled by the flash unit itself. Most Auto flashes offer two or three different power settings that relate to a specific aperture setting and distance range, and it’s up to you to decide which of these is most appropriate for your shot and to set the flash and camera accordingly. When you take your shot, a sensor in the flash measures the light reflected from your subject and cuts the flash when enough light has been received. This is nowhere near as sophisticated as modern TTL flash systems, but it can still deliver surprisingly accurate exposures with unsophisticated film cameras.
Built-in flash
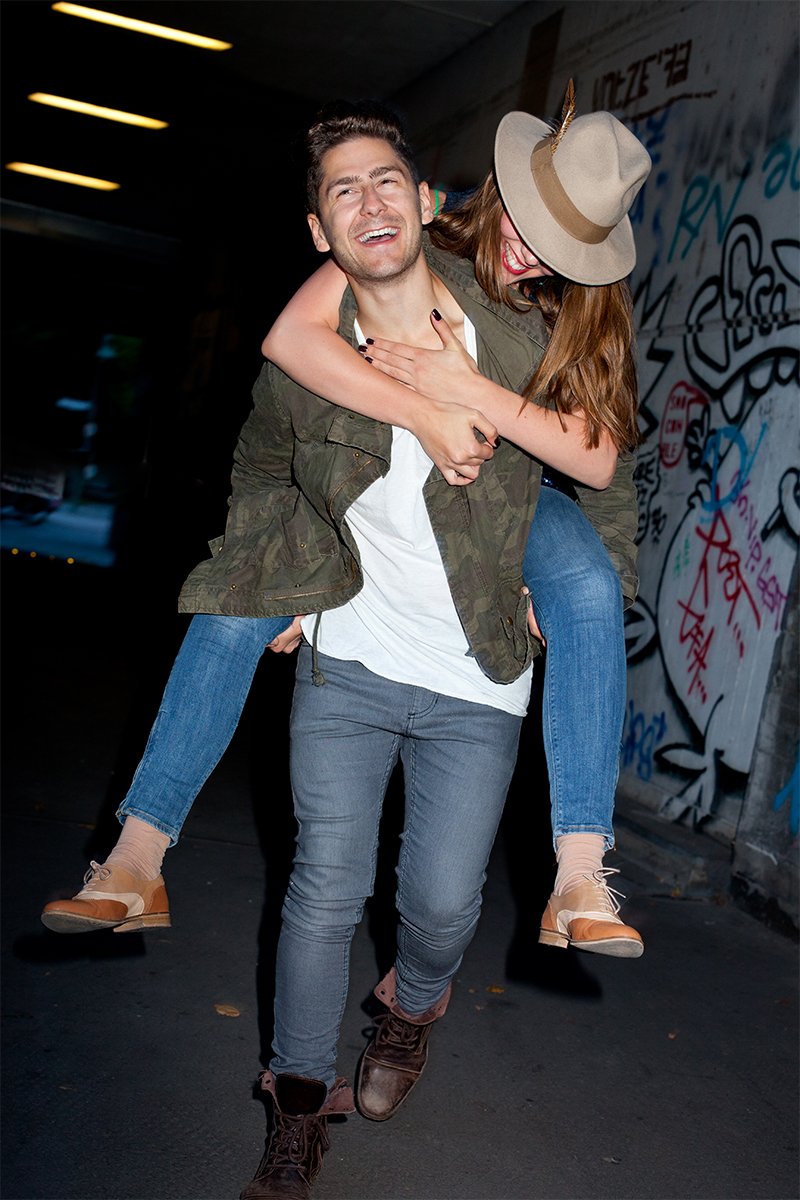
Most cameras have a built-in flash, but they rarely produce the best results. The problem is, a built-in flash is small and low-powered, and so the light it produces doesn’t travel very far. This means you either need to be close to your subject, or use a wide aperture setting, or dial in a high ISO (or a combination of these), which can mean making compromises. The position of a built-in flash is equally restrictive, as it will only ever produce direct, frontal lighting, which is rarely flattering and the main cause of red-eye in portraits.
Flash is commonly associated with low-light photography, but the low power of a camera’s built-in flash means your subject will need to be close to the camera and the background is likely to be heavily underexposed.
Fill flash
Although built-in flashes have their limitations, they can come into their own during the day. This might sound counter-intuitive – after all, you don’t need flash to light your subject in these conditions (the ambient daylight will do that) – but during the day flash can act as a ‘fill light’ to lift any dark shadows cast across your subject, or prevent a back-lit subject appearing in silhouette, or simply add a bit of sparkle to an overcast day.
Using flash with a backlit subject can ‘fill in’ any shadows, preventing them appearing in silhouette.
The simplest approach is to activate the flash and let the camera take control of the exposure. This will usually mean that the flash power is set to match the brightness of the ambient lighting, so the flash element of the exposure is balanced with the daylight, resulting in your subject and background being lit equally.
However, things get a lot more creative (and interesting) when you shift the balance between the flash and daylight so that one or the other dominates your shot. The key here is exposure compensation – both ‘regular’ exposure compensation, (which controls the ambient light) and flash exposure compensation (which controls the flash). If you want a subtler fill-in flash effect, for example, simply reduce the flash exposure. Setting flash exposure compensation to -1/2 or -2/3 stop will still fill in any hard shadows and add a catchlight in the eyes of portrait subjects, but it won’t be quite so obvious that flash has been used.
A weak burst of flash is often enough to lift your subject and add a catchlight to their eye.
Conversely, you can make your subject ‘pop’ against its background by reducing the ambient exposure and increasing the flash exposure by the same amount – setting the ambient exposure compensation to -1 stop and the flash exposure compensation +1 stop is a good starting point. Increasing the flash exposure and decreasing the ambient exposure is a great way of making your subject ‘pop’. You can control the result by varying the exposure compensation you apply: the bigger the adjustment, the greater the difference will be between your subject and its background:
It’s worth noting that these techniques work just as well with a hotshoe-mounted flash; we’ll look at these more sophisticated flash units in the next instalment of this series.
WHAT IS A YEAR WITH MY CAMERA?
Emma wrote A Year With My Camera to help you be completely confident with your camera controls so you can start enjoying your photography and having fun once again. It’s available free by email (join below) or in an app (search on your app store) or in bestselling printed workbooks available on your local Amazon store.


