
All about hotshoe flash
In the second part of this series you learned how to control a flash, and how to get the best from your camera’s built-in flash. But while a built-in flash can get you out of a fix and even let you get a little bit creative with your photography, its fixed position and relatively low power output are limitations that just cannot be overcome. However, a hotshoe-mounted flash can not only sidestep both of these problems, but will also provide you with plenty of additional options to enhance your creativity. Let’s take a look at what’s on offer.
Post author: Chris Gatcum
FREE ONLINE BEGINNER’S PHOTOGRAPHY COURSE
A Year With My Camera is free by email and will get you off auto mode in less than 6 weeks. Join here and get started today:

Choosing your flash
There’s no escaping the fact that buying a hotshoe flash can be expensive, and the more powerful and sophisticated it is, the bigger the price tag will be. There are ways that you can lessen the cost, though. For a start, there are third-party manufacturers who offer comparable flashes to the camera makers, but at lower prices, while buying a second-hand flash can also net you a bargain. However, in both cases it’s worth checking that the flash is fully compatible with your camera, as there’s a chance that some features might be unavailable, especially if you’re using the latest camera model. With significantly older flashes you also need to be aware of the potential problems of a high trigger voltage, as outlined below.
In addition to compatibility, there are several key features to look for in a hotshoe flash. The first of these is power, which is given as a guide number (GN). The simple rule here is that the more powerful the flash is, the more versatile it will be, as it can throw the light further, which is useful when you want to bounce it or light a subject at a distance, and/or let you use a smaller aperture and lower ISO.

In bright sunlight you will need a more powerful flash if you want it to have an impact on the scene you are photographing.
The second feature to look for is a tilt/swivel head that will let you aim the light from the flash at a wall or ceiling, and ‘bounce’ it on to your subject. This makes the light softer and less direct, which is generally more pleasant, especially for portraits. You can also make the light softer by attaching a diffuser, softbox or ‘bounce board’ (which effectively works like a small, portable wall), and if you’re using TTL flash control the camera will automatically take any light modifiers into account when it determines your exposures, as well as the increased distance the light has to travel if you bounce it. However, if you’re setting your flash manually you will need to compensate for the reduction in light by setting a wider aperture and/or using a higher ISO setting. Assuming your flash isn’t set at full power you could also boost the flash power, which is where having a powerful flash can prove beneficial.

A flash with a tilt/swivel head provides you with much greater flexibility than a flash with a fixed, forward-facing head.
Beyond power and a tilt/swivel head there are numerous ‘secondary’ features that you might want to look for such as a high speed sync mode, a zoom head or the option to use an external battery pack for faster recycling times and a greater number of flashes. Most of these were covered in the first part of this series, but how relevant they are to you depends largely on what you photograph – high speed sync could be essential if you want to take action shots outdoors, but unnecessary if you photograph still lives indoors, for example.

Small softboxes and plastic diffusers (as seen here) are useful accessories that can be used to soften the light from a hotshoe flash.
Trigger voltages

I bought this well-specified flash to use with my film cameras, but I wouldn’t use an old flash like this on a digital camera without first checking its trigger voltage.
If you look online you will find plenty of ‘vintage’ hotshoe flashes for sale that were once paired with mechanical film cameras. These flashes may not necessarily offer TTL control, but they often combine an otherwise high specification and high power with a low price, which can make them incredibly tempting if you’re happy to work manually. However, you need to be aware of the flash’s trigger voltage if you intend to use it in your camera’s hotshoe. The problem is, trigger voltages on mechanical film cameras can be a lot higher than those used by today’s digital cameras, and this can potentially fry the circuitry in your camera. Search online to find the trigger voltage for your particular camera and prospective flash; if the flash voltage is equal to or lower than the camera’s then you’ve got a great match. Alternatively, trigger the flash remotely (see below) rather than from the camera’s hotshoe.
Off-camera flash
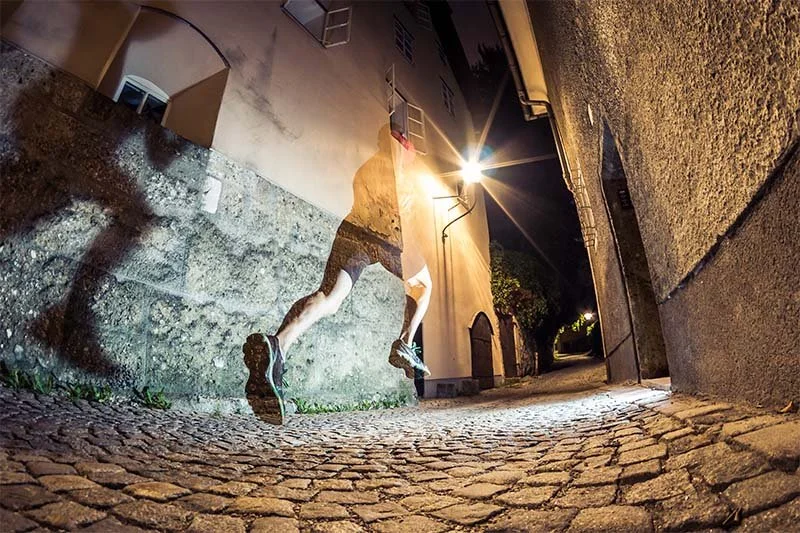
Although a hotshoe flash on top of your camera gives you greater flexibility than a built-in flash, you can really unleash your creativity when you take it off the camera and position it independently. Suddenly you can light your subject from the side, from above, from below, from behind – the possibilities are almost endless

Taking your flash away from the camera lets you explore a wide range of lighting options.
Controlling off-camera flash
The idea of using off-camera flash can seem daunting, but with TTL flash the process can be incredibly straightforward. All you need to do is hold the flash away from the camera (an assistant or a flash stand is useful here) and aim it where you want the light to fall. You will need to have some way of triggering the flash, as outlined below, but with TTL control your camera will sort out your exposures, regardless of where the flash is positioned – it will even take softboxes and diffusers into account. You can then use flash exposure compensation (as outlined in part two of this series) to control the intensity of the flash in relation to the ambient light, for even greater creativity.
Of course, you can also set your flash exposures manually, which is something we will explore in the next instalment, when we look at studio strobes.

TTL flash control can make working with off-camera flash as easy as it is when the flash is sat in the camera’s hotshoe, giving you point-and-shoot simplicity.
Triggering your off-camera flash
In the past, triggering an off-camera flash and getting some sort of automatic or TTL control involved using often-complex combinations of leads and adapters. Although TTL leads are still an option (and are now much simpler), most photographers now rely on wireless technology instead. The most common trigger for a dedicated TTL flash is the camera’s built-in flash, which acts as a so-called ‘master’ to control and trigger the off-camera ‘slave’. Flash exposure compensation can be used to control the power of the flashes – check your camera manual to see if you can adjust the power of your built-in and off-camera flashes separately from the camera, or whether you need to adjust the remote flash independently.
Wireless flash triggers are usually the most versatile option for working with off-camera flash, as there’s no risk of leads and cables appearing in shot.
Multi-flash set-ups
Why stop at a single off-camera flash? TTL flash is now so sophisticated that most camera systems will let you add two or more flashes to your off-camera flash setups. Obviously, each flash needs to be TTL compatible with your camera (which can prove expensive!), but you’ll be able to create portable studio-style lighting set-ups that are almost as easy to control as your camera’s built-in flash. With so many different camera systems it’s impossible to cover them all here, so check your camera manufacturer’s website to see what options are open to you.

Combining off-camera flashes with coloured gels can add another dimension to your flash photography.
Alternatively, if you’re happy to work with manual flash you may prefer the world of studio flashes for your multi-flash set-ups – we’ll explore those in more detail in the final instalment of this mini-series.

WHAT IS A YEAR WITH MY CAMERA?
Emma wrote A Year With My Camera to help you be completely confident with your camera controls so you can start enjoying your photography and having fun once again. It’s available free by email (join below) or in an app (search on your app store) or in bestselling printed workbooks available on your local Amazon store.