8 ways to get your photos from your camera to Instagram
You can't post directly to Instagram from a desktop/laptop. I asked last year's AYWMC graduates, and these are the most popular solutions to the perennial question, "How do I get my photos from my camera to Instagram?"
(If you don’t already follow us, follow @EmmaDaviesPhoto here and follow @AYearWithMyCamera here.
Update 1 Nov 2018: there is a 9th method. It uses the Chrome browser to preview your Instagram page as mobile on desktop. It works beautifully. It looks complicated but it’s not (although if you don’t see the “+” button to start with, refresh your page). Thanks to Anne Haile, AYWMCer from the September 2018 start for sharing. Click here for the walk-through
1. Cloud
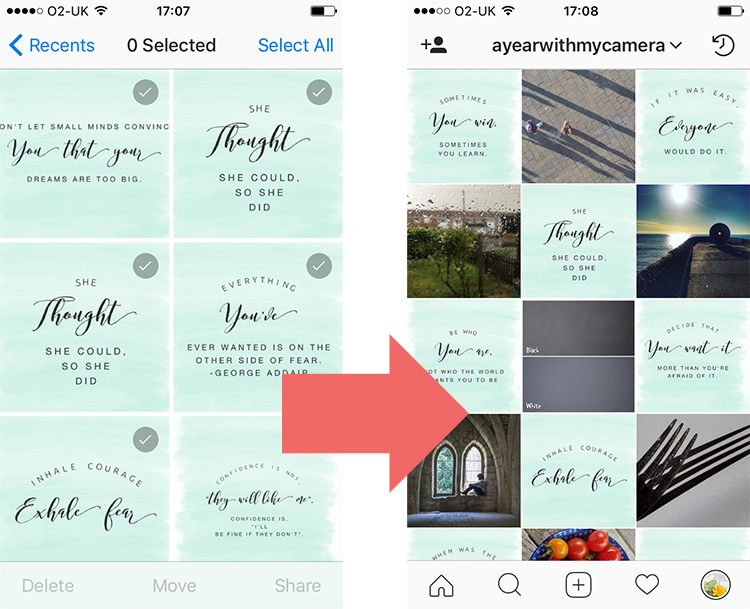
Install Dropbox on your desktop and your phone. Upload any photos you have destined for Instagram into a separate "Instagram" folder (ideally sized to about 1080px, but this isn't essential). From your phone you can then access the same folder, download to your camera, and then upload to Instagram.
Instead of Dropbox you can use any cloud based storage, including Lightroom to Lightroom mobile, Google Drive, iCloud/OneDrive, and Facebook (see point 6 below for more details on using Facebook).
Photos from Dropbox to Instagram via the iPhone Camera Roll
Verdict: lots of steps, but does allow you to edit and resize from your desktop before you move to your phone.
2. Scheduling apps
Be very careful of any app that does everything for you. Instagram does not allow 3rd party uploading, and your account may be banned if you use these apps. However, there are a number of perfectly legitimate apps that allow you to do all the hard work from the comfort of your desktop (uploading, editing, captioning, hashtagging). The app then sends a prompt to your phone whenever you scheduled the post (including the option to do it straight away). This is the magic part - the app copies the photo to your camera, and the caption to your notes app. You just need to open Instagram and then follow the copy/paste instructions. It usually only takes 2 clicks to post, with no extra typing needed. I use Planoly, which has a free plan of up to 30 photos a month at the time of writing. There are lots of other schedulers, including Hootsuite, CoSchedule and Buffer.
Verdict: good for people who don't like faffing on their phones.
3. Wifi
Possibly the most straightforward option if your camera has wifi. You simply use the camera's local wifi connection to transfer photos over to your phone, and upload from there.
Verdict: Can be a faff to get the connection set up, but if you get it working this is a very easy option.
4. Wifi memory cards and local Wifi adaptors
You can buy memory cards that have built-in wifi. Canon and Nikon also do wifi adaptors for some of their cameras.
Verdict: You still need to configure the wifi connection, but once it's working it's a neat solution if your camera doesn't have wifi. Not cheap.
5. SD card to phone adaptor
Yes, you can buy card readers that plug straight into your phone or iPad.
Verdict: The most straightforward way to transfer straight to your phone any photos that you don't want to edit on desktop.
6. Use Facebook
If you have your Instagram account linked to your Facebook profile, you can share a photo from within Facebook to Instagram via the "share externally" option - available under the 3 dots to the top right of your post.
Verdict: I haven't managed to set this system up to work, but many AYWMC students swear by it.
7. Email photos to yourself
Similar to the first option, but a bit less seamless - just email your photos to yourself and open them up on your phone.
Verdict: You have to open and close your emails, but if you don't mind the steps involved, this is an easy option.
8: Airdrop
Just for Apple users - switch your bluetooth on and use AirDrop to transfer desktop to phone.
Verdict: Can be slow, but no cables required.


