Exposure 1: 18% grey
Extra explanations from the first of the A Year With My Camera online lessons.
1. What is overall tone?
Overall tone is the average of all the tones in the image. So if you turn your image to black and white, and then either blur it, or add up all the different tones of pixel, that will give you the overall tone.
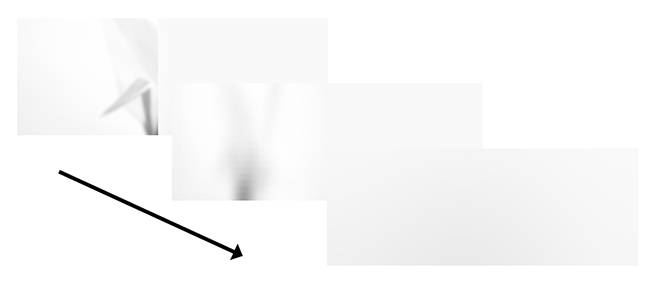
Here is the correctly exposed origami, gradually reduced to its overall grey tone. This is what the camera sees when it looks at the world:
You see pale grey, almost white. So does the camera. But the camera is programmed to assume the world is a darker grey, so it will calculate its exposure on a darker shade of grey. It doesn't know you are shooting white origami on a white background.
This tone is what the camera sees when it looks at the origami.
This is the approximately 18% grey tone that the camera is programmed to turn every photograph into, including the white origami.
Without any help from the photographer, the camera will underexpose this photograph. It is trying to make the image have an overall tone of approximately 18% grey, even though that’s not what you want:
One more example. Imagine a black cat in a coal cellar. How will the camera see this image?
The camera always sees every image as approximately 18% grey. So it will turn the black cat grey - it will over expose it:
Your camera on auto or program mode turns EVERYTHING to 18% grey, whether you want it to or not. Your job now as a photographer is to:
1. decide whether your scene is going to be approximately 18% grey in tone; and
2. if it’s not, decide what you’re going to do about it so that you don’t end up with an over or under exposed image.
So what can you do about it?
You can take control away from the camera, and override its desire to turn everything it sees to a mid-grey tone.
There are 3 controls you’ll learn about in the coming weeks - aperture, shutter speed and ISO. Each one allows you (or the camera) to let more (or less) light in through the lens and onto the sensor to create your image. On Program or Auto modes, the camera makes all the decisions. But you can go “off auto” and take control of these settings for yourself.
Next week you’ll go off auto as you learn about aperture. For now all you need to understand is that the camera is programmed to expose every scene so that it has an overall tone of about 18% grey, and that there is a solution, which you’ll learn in the rest of the course.
In your own words...
Check that you’ve understood the most important part of this lesson. Write down, in your own words, why a camera on an auto mode will over expose a photo of a black cat in a coal cellar.
Download the checklist for the first lesson:
The checklist is taken from the workbook that accompanies the course. The workbook is optional, but if you like to have a book in your hands you might like it. You can get it on Amazon, or click here for more details.
Now go back to the email and read about this week's project.
A Year With My Camera
If you've stumbled on this page by accident, you are reading part of Emma Davies' free beginner's photography workshop. For all the details, and to sign up, go to AYearWithMyCamera.com.


