
Lockdown flower photography project
Create a rainbow of flowers with this step-by-step flower photography tutorial.

You will need
Single flowers in a variety of colours.
Matching colours of cellophane and a light pad, or a phone/iPad showing just one colour on the brightest setting. You want a nice bright, evenly lit background for this project. If you use coloured paper you might find it ends up too dark in comparison to the flower and the side nearest the main light source (usually a window) will be lighter than the side farthest away. Using a back-lit background avoids these problems. Combine layers of cellophane to create the shade you want – in the image below I have used 3:1 blue: red to create the purple tone I wanted.
Something to hold the flower stationary (I use a Plamp but you could use Blu Tac or a pile of books where you wedge the flower so it is held still).
A tripod if you have one; otherwise hand hold but make sure your shutter speed is fast enough not to show camera shake (you may need to use a wider aperture or higher ISO to compensate)

If you don’t have a light pad you can use a phone or iPad with smaller flowers. I just Googled “orange” to get the screen orange for this shot but you can buy light pad apps if you want to have more control over the colour. Make sure your screen brightness is set to maximum:

Settings
If your flower is absolutely still and you are using a tripod then you don’t need to worry about the shutter speed. Make sure windows are closed and you don’t move while the shutter is open to avoid breezes and vibrations. Use a cable release or short self timer to stop vibrations when you press the shutter.
Turn off your on-camera flash.
Set your ISO to 100 (unless you are handholding in which case let it creep up as needed).
Use whichever aperture you want to for the creative effect you want. A wide aperture (f2.8) will give a selective focus effect so be careful where you focus – usually you would aim to have the centre of the flower sharp or the petal nearest the camera. A smaller aperture (f11, f16) will help keep all of the flower in focus.
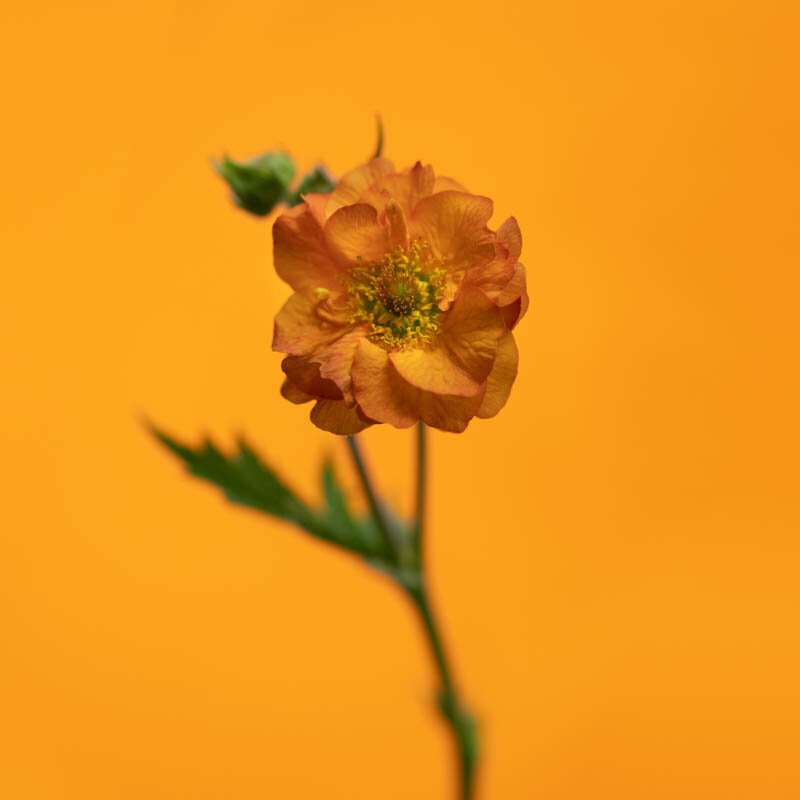

The aperture on the orange geum was f2.8 and only the front of the flower is sharply in focus. For the yellow buttercup an aperture of f14 means that more of the flower is sharp including the top of the stem.
I’m working through the rainbow at the moment and am stuck on green. I think I’ll have to use a white flower with plenty of green like an allium because I don’t want to wait until October for a green chrysanthemum. Have fun with this one; stay home if you can and stay safe.
The Art of Flower Photography
If you enjoy flower photography you might be interested in Emma’s online flower photography course which runs once a year and is now open for registration. It starts on 1 June and lasts 10 weeks. You have lifetime access to the course once registered. Click for details and to register:
