How (NOT) to shoot the Northern Lights
Everything I learned about shooting the aurora borealis I learned from astro and landscape photographer, Ollie Taylor Photography on a week long workshop I went on in December 2018. If it’s your first time shooting them, I strongly recommend going with someone like Ollie who knows what they are doing - where to find them, how to predict them, and where to view them from. I had been 4 times previously and they either hadn’t come out, or I didn’t know what to look for and where.
This post includes some of my less than perfect shots, and I hope I can help you not make the same mistakes.
1. What’s in your foreground?
This is a record of the first time I’d ever seen the lights, let alone shot them. Ollie made me get out of the bus and shoot in a layby only minutes after I’d got off the plane (not dressed for minus 10) - because it might have been the only time we saw them all week. If you see them, shoot them - sometimes you need someone to make you get out in the cold. It was freezing (literally), and I forgot everything I ever knew about shooting on manual and waiting for the traffic to clear:

ISO4000, f4, 10 seconds - thank goodness I had someone standing next to me telling me what to do because seriously, when it’s that cold and you’ve not shot in the cold and dark before, and you’re really excited about seeing the lights, you really forget which way is up let alone what ISO to use
2. Do you know what you’re looking for?
Unless they are very strong and dancing like crazy, the aurora borealis doesn’t actually look like the photos. This is why you need to go with someone who knows what they are doing - they can point out the fact that what you thought was a moonlit cloud* is actually the northern lights. And that if you take a photo of them, your camera will pick up all the colours that you can’t see:

On the left: what you expect to see from all the photos. On the right: what it actually looks like, unless it’s a very strong display.
* Even though your workshop leader deliberately picked a week with no moon for the trip so you’d be able to see them better. So there could not possibly be any moonlit clouds. When it’s cold you forget all this stuff.
3. Manual focus
Don’t believe anyone who says just to focus on infinity and you’ll be fine. No. You need to be on manual focus and learn where infinity on your particular lens is calibrated. Otherwise you get soft photos like this:

So badly focussed. Those things that look like rain spots on the lens are out of focus stars.
4. Turn off your headtorch
Easy to forget, especially if you’re on the red light. But it will annoy everyone who is in the same place and spoil your photos:

5. Be ready if they dance
Be patient. Watch the forecast. Go out dressed for the cold. Take handwarmers. And when they dance, use a shutter speed of only about 2 to 4 seconds to catch the trails. Everything else is a compromise - ISO and aperture have to take up the slack and you just deal with the noise and the smaller depth of field.

5 seconds, ISO 3200, f4, Canon 5DIV, 11-24mm at 11mm.
6. Don’t forget to stop shooting and watch
I had my finger on the shutter and couldn’t stop shooting. If I get the chance again I might try setting up and pointing the camera at the sky, and then letting the intervalometer take a timelapse automatically, so I can sit back and just be in awe.

This end-to-end display was one of the most mind-blowing things I’ve ever seen. ISO3200, f4, 20 seconds.
Details of Ollie’s workshops are here: Click to view
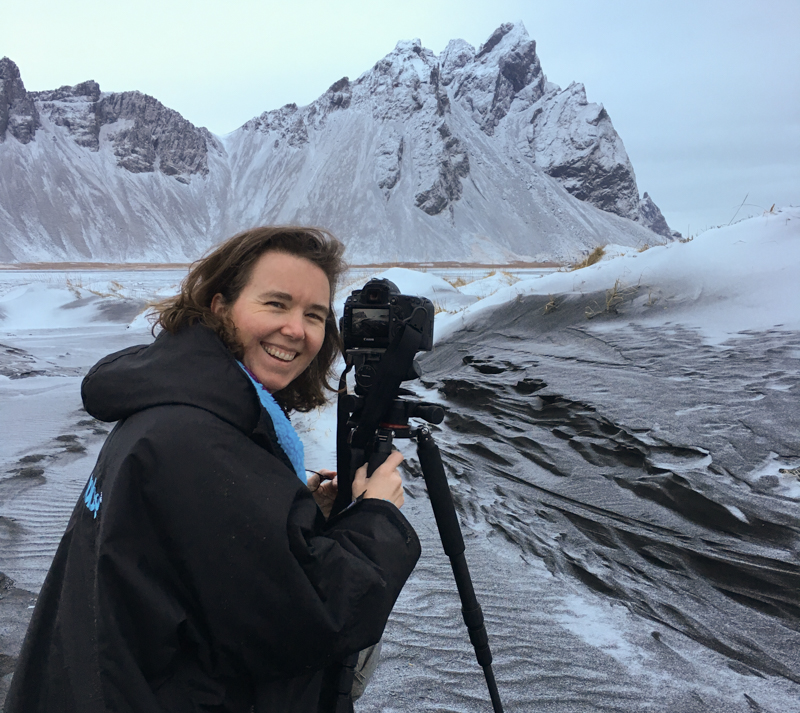
Not sponsored. I paid full price and had a great time. I would suggest you need to be very confident shooting on manual mode to get the most out of a northern lights trip - you don’t really have time to be thinking about which aperture gives which depth of field, or which way you need to change ISO to compensate for a shorter shutter speed. You also need to have shot in the field with the kit you will be taking so you can find all the bits and pieces on your tripod in the dark, and know what to take with you from the van to the shoot each time (tripod plate, allen key, filters, spare batteries, lens wipe, hot drink, camping stool….). And because it is usually very cold, expect your mental capacity to drop by about half - it may be my age or the cold or both, but I found it very difficult to start with to remember everything.
Join A Year With My Camera here:
Not ready to shoot on manual mode? Join my free beginner’s workshop here and you’ll be off auto in 6 weeks: