
Camera settings to get you started
You have ventured off auto mode. You know what aperture is. You can have a go at changing the shutter speed. But what settings should you actually use, now you aren’t on auto?
If all this talk of settings is too much for you, join my free online beginner’s workshop, A Year With My Camera, and you’ll be shooting off auto after 4 weeks. Details right at the end of the post.
Don’t forget: all these settings are just starting points. The actual settings you might end up using will depend on how much light you have, what gear you are using, how much wind there is and whether you have a tripod. But hopefully this post will give you a solid place to start from before you try a few different ideas.
If you’re wondering when you should shoot on fully Manual mode, read this post: When to shoot in Manual mode
Start with aperture
If you don’t know where to start, start with depth of field.
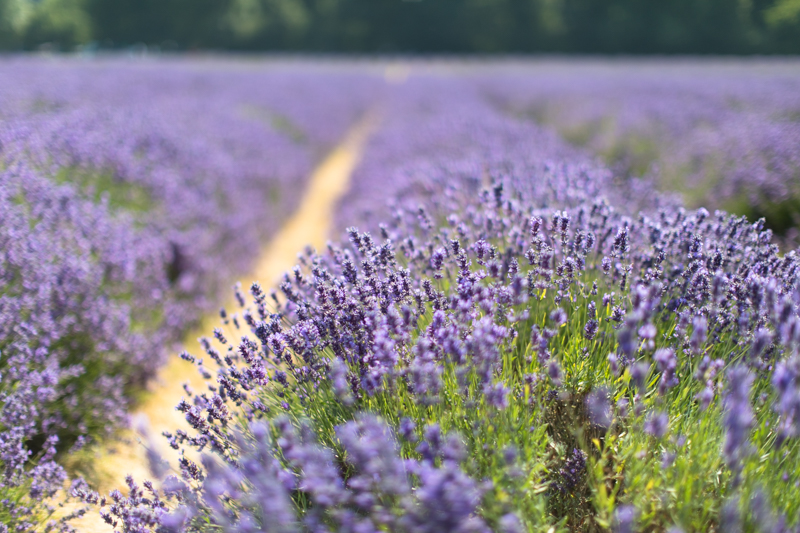
Blur the background
aperture priority mode
f2.8 (or whatever your largest size aperture is)
focus carefully on your subject
Front-to-back focus
aperture priority mode
f16 (or a small hole sized aperture)
focus in the middle-distance (and research “hyperfocal focussing” if you want to learn more)

Is anything moving?
If you or your subject is moving, you’ll need to think about shutter speed. You can also think about aperture/depth of field, but your first thought should be your shutter speed.
The suggestions that follow are starting points for hand-held photography. Try other shutter speeds as well, and critically examine how your gear works in different conditions. In particular, the focal length of your lens will affect how fast a shutter speed you need (longer lenses and macro lenses need faster shutter speeds than the same image shot with a shorter/wider lens).
Water splashes: at least 1/2000th
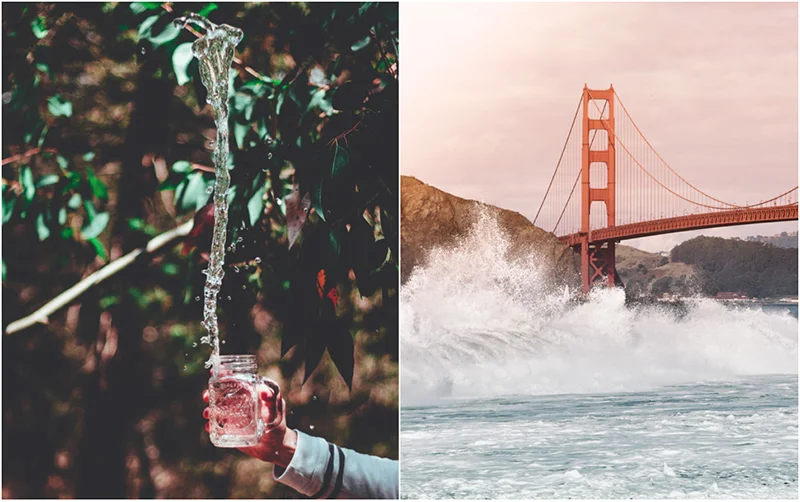
Images Diego PH and Kevin Wolf, with permission
Flying bees and insects: at least 1/1000th

Birds, wildlife: at least 1/500th, faster if you have enough light

Slower moving, larger wildlife: around 1/500th

Minimum hand-held: 1/125th
This depends on how much coffee you’ve had, how heavy your kit is, if you are out of breath and if your lens has image stabilisation/vibration reduction enabled. A safe minimum shutter speed for hand holding is 1/125th, faster for longer lenses. If you calm your heart rate and brace the camera against yourself, you might get away with 1/60th.

Panned shot: 1/20th - 1/60th
Panning is where follow a moving subject with the camera. The subject stays recognisable but the background blurs out. Your exact setting will change depending on how close you are to the subject and how long your lens is.

Image Projct33, with permission
Waterfalls: 1/4 - 1/2 second
To get the wispy trails on a waterfall, start at about 1/2 a second and review your shots to see which shutter speed gives the best effect.


A Year with My Camera
My flagship beginner’s photography workshop is free by email. Join here and get started today:

You might also enjoy:
Header image João Silas, with permission.