
Best bird photography settings to use
If you photograph birds on auto settings, more often than not you’ll end up with a picture like this:
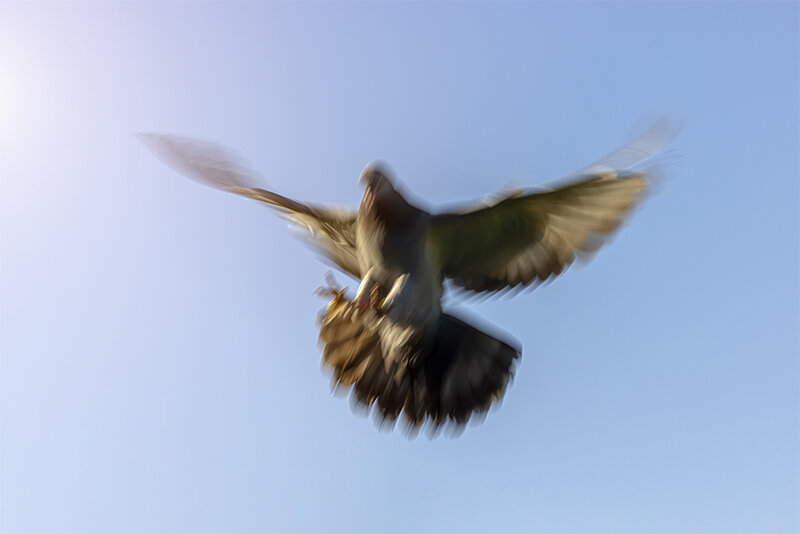
The camera doesn’t know you need a fast shutter speed because your subject is fast-moving. On auto mode it picks something middle-of-the road that would be fine if you were photographing a landscape or a birthday cake. To fix this problem you can either use a dedicated auto mode like wildlife or sports which will prioritise shutter speed, or you can dial in the shutter speed yourself and get exactly what you want. Be aware that even using a dedicated auto mode might not let you use a fast enough shutter speed to get the shot you want, so your best bet is to get yourself off auto and in control.
Need help with shutter speeds?
The email version of Emma’s online beginners camera course is free for one year. It will have you off auto-modes after six weeks. Join here and get started today:


Shutter priority mode is the easiest way to get started with bird photography whilst keeping complete control of your shutter speed. Set your camera to the “Auto ISO” option if you have it. If your camera doesn’t let you do this then choose the highest ISO that you need to in order to get an acceptable exposure. Your camera will now choose an aperture that will complete the exposure and you don’t need to think about it.
Keep an eye on the histogram while you photograph. If it looks to be very over- or under- exposed then you can either use exposure compensation to correct it, or switch to manual mode and dial in all the settings for a correct exposure. (Join A Year With My Camera to learn how to do this.)
Use this guide to choose your starting shutter speed. Review your images as you go; adjustments may be needed depending on how big the bird is in your frame and how close you are.
Slow shutter speed: 1/250th
If your bird is stationary and you are using a tripod you might be able to get away with what is, for bird photography, a slow shutter speed. If you are using a heavy 600mm lens with no tripod then don’t consider using anything less than 1/500th, preferably 1/1000th (unless you have in-camera or lens stabilisation options available). Let the ISO climb to whatever it needs to. You can’t rescue camera shake in post processing – your only option is to delete the photo.

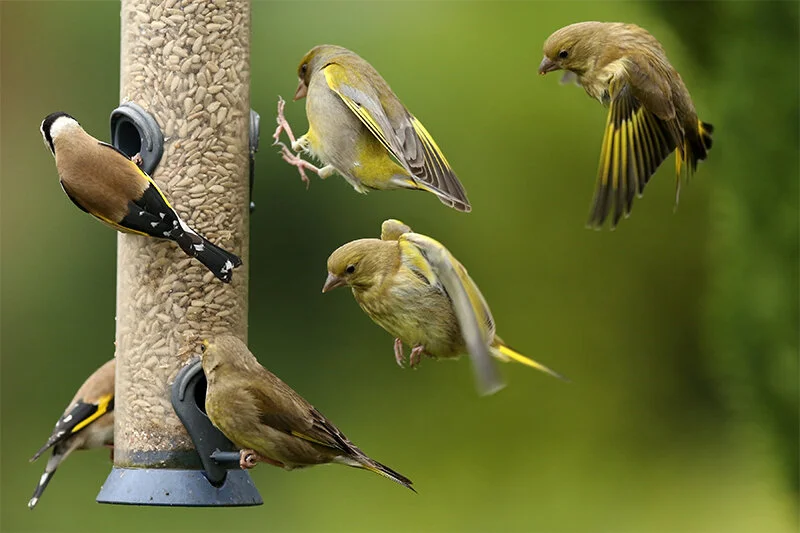
Default shutter speed: 1/1000th
To stand a chance of catching flying birds sharply then use a shutter speed of at least 1/1000th second. If you have enough light, go faster. If you want to keep that elusive blurred “wing-tip flutter” whilst keeping the birds’ faces sharp (seen here in the two birds on the right) then start at 1/000th but try something a bit slower as well (1/750th, 1/500th) depending on the size of the birds and how close you are.
Preferred shutter speed: 1/2000th
If you have the option, start at 1/2000th. If it’s getting dark you may run out of ISO and have no choice but to use a slower shutter speed.

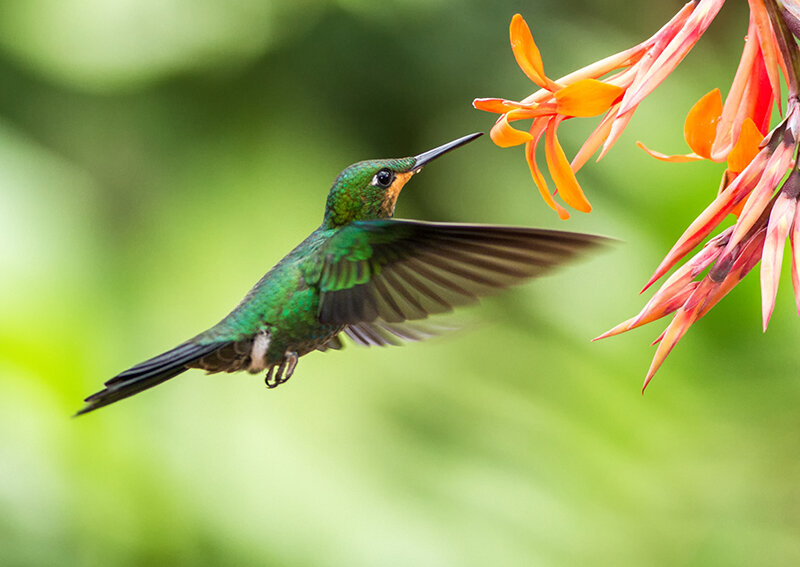
Super-fast shutter speed: 1/4000 or 1/8000th
If the bird is moving as fast as a hummingbird’s wings do then you need to use the fastest shutter speed you’ve got and even that might not be fast enough to freeze the wings. If you do see a photograph where a hummingbird’s wings are perfectly sharp then it is probably taken with added light.
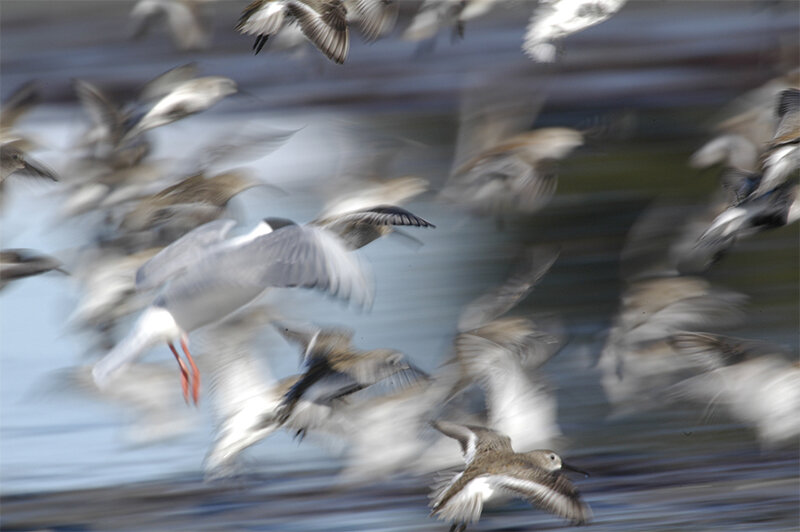
Deliberate blur: 1/30th
To get some artistic shots of blurred birds in motion choose a very slow shutter speed of about 1/30th and pan the camera when you fire the shutter; move it at the same pace and in the same direction as the birds.
You might also enjoy:
