5 mistakes to avoid when shooting blossom
1. Focus
When it's windy, and you're working with a shallow depth of field, it's very easy to focus on the wrong bit of the blossom.

Focus is completely off in this shot
This is better, but the all-important closest-to-the-camera blossom still isn't in sharp focus - it's the one behind that is in the sweet spot.
- get your auto focus working off a single focus spot only, not multi point, and practise using focus-recompose (where you hold the focus by half pressing the shutter, and then reframe your image before pressing the shutter fully)
- use manual focus
2. Background
A blue sky or green leaf background will always look much more appealing than a blown-out white sky, or a patchy mish-mash of shadows and highlights.

Nice enough photo of the blossom, but a disappointing, distracting background of white sky and grey shadows

Including more colour in the background makes for a more eye catching image
- keep half an eye on the background at all times and make sure the out of focus areas aren't distracting or dull
- be prepared to change your viewpoint a lot to get the background you want
3. Aperture
There's no substitute for knowing how your lenses will perform at which focussing distances. Get to know each lens at its widest aperture - how close can you focus, what depth of field do you get, which focal length is best for you to work with in the field?

100mm lens, f4

Same shot, f22
4. Shutter speed
The trouble with shooting blossom on the tree is that you are at the mercy of the weather. And most importantly, the wind. Any slight breeze will introduce motion blur into your image, and make it unusable. Make sure your shutter speed is fast enough to freeze the moving blossom.

50mm lens, shutter speed 1/200th: the wind has blurred the blossom even at this relatively fast shutter speed

Same shot, faster shutter speed: 1/680th
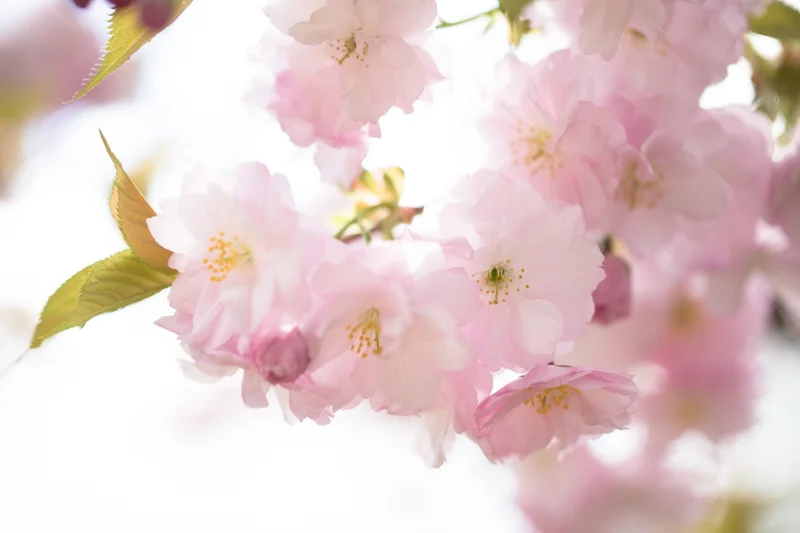
5. Light
A dappling of sunlight will bring your shots to life. Don't be afraid to shoot into the sun, with the sun behind the blossom. You'll probably need to over expose by up to 2 stops, but the exposure compensation dial is your friend in situations like this.

Nice enough shot, but a bit lifeless compared to one shot with some sunshine behind:

Settings summary
1. Keep an eye on your shutter speed, especially if it's windy. You'll need a minimum of 1/400th for anything more than a very light breeze.
2. Wide apertures (f2.8, f4) will give you the blurred background, but your depth of field will also be tiny so keep an eye on your focus point.
3. If it's a bright day and you're working with wide apertures you won't need a high ISO, so keep it low (ISO100, ISO200) to keep the quality of your images high.
4. If it's windy there's no point in using a tripod because your shutter speed will be high anyway.
5. Exposure compensation of +1.5 to +2 stops if you're shooting into the sun.

Join my free beginner's workshop here
My flagship online photo course, A Year With My Camera, is free by email. It will get you up and running with apertures and shutter speeds, ISOs and exposure compensation.
Register here and get started today: